Transport & Rental Software Tips, Updates & Insights

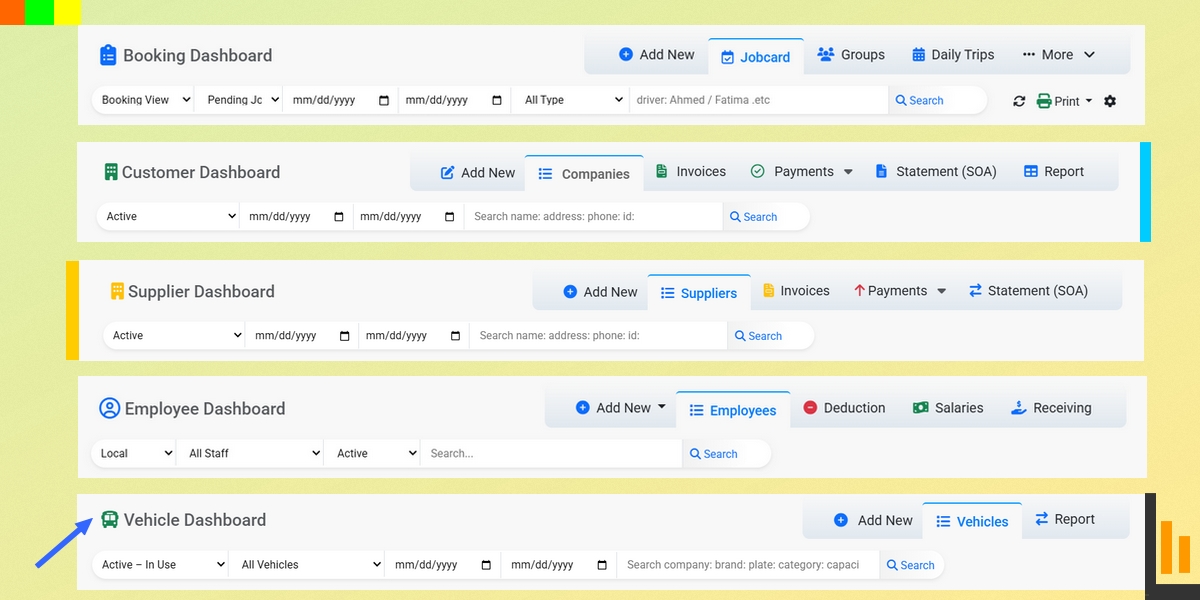
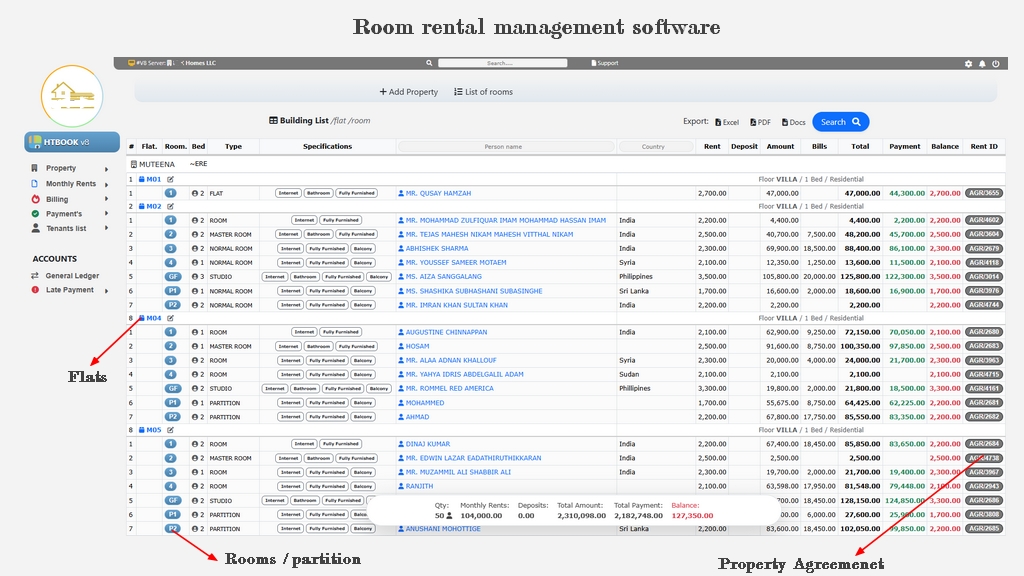
Welcome to the HTBOOK Software Blog — your trusted source for insights on transport management, vehicle rental operations, accounting automation, and business growth strategies. Explore our latest posts to learn how HTBOOK helps bookings, manage fleet schedules, track payments, and simplify financial reporting for transport companies in Dubai, Sharjah UAE and beyond.
Our Blogs

Vehicle Booking System vs Manual Booking – Which is Better
Explore the key differences between using a digital vehicle booking system and man...
Read More...
Best Software for Managing Airport Transfers and Hotel Pickups in Dubai
Managing airport transfers and hotel pickups in Dubai becomes easy with the right software. It helps you track vehicles, schedule trips, assign driver...
Price Package: 100Why Transport Companies in Abu Dhabi Nee
HTBOOKWhy Transport Companies in Abu Dhabi Need HTBOOK Software
HTBOOK empowers transport companies in Abu Dhabi with automated operations, and di...
Read More...
Top 10 Challenges Bus Rental Companies Face and How to Solve Them
The10 challenges bus rental companies face, from fleet management to customer service. Learn practical solutions to ...
Read More...
I love Dubai - Top Reasons To Visit
Dubai is a city full of wonder, where modern skyscrapers meet rich traditions. Iconic landmarks like the Burj Khalifa and Palm Jumeirah attract travel...
Read More...Welcome to the official blog of HTBOOK Software – your all-in-one solution for transport, rental, and accounting management. Whether you're running a transport company, vehicle rental service, or managing tour operations, our blog is here to guide you with expert tips, software updates, and success stories from across the industry.
At HTBOOK, we understand the daily challenges of managing bookings, driver schedules, customer records, and financial reports. That’s why our blog focuses on real-world use cases, smart solutions, and automation strategies to help you grow your business efficiently. From streamlining your booking system to reducing manual work in invoicing and payment tracking, you’ll find insights that simplify your workflow.
Each post on our blog is designed to be practical and easy to follow. We cover topics like fleet management, fuel and maintenance tracking, route planning, customer communication, online booking tools, and more. We also share updates about our latest software features and how they benefit users across the UAE and beyond.
If you're new to transport management software or considering upgrading your current system, our blog offers a wealth of information to help you make informed decisions. You’ll also find tutorials, user guides, and case studies from businesses like yours who use HTBOOK to save time, improve accuracy, and boost profits.
Stay connected with us for regular updates, industry trends, and helpful resources tailored to vehicle rental companies, staff transport services, logistics providers, and accounting teams.
Thank you for visiting the HTBOOK Blog — where transport meets technology.


